Waterproofing suede without darkening its color or crushing its velvety nap requires a non-silicone, fluoropolymer or nano-polymer liquid spray. Traditional shoe waxes and heavy silicone coatings build an impermeable layer over the surface. On smooth leather, that layer seals out moisture cleanly, but on suede—which consists of thousands of tiny split hide fibers—silicone and wax glue the nap together, darkening light shades and leaving a stiff, shiny crust that cannot be brushed out.
Fluoropolymer sprays function differently. Rather than forming a continuous plastic film, the fine spray deposits microscopic polymers around individual hide fibers. The spaces between the fibers remain open, which allows air and vapor to escape while forcing surface water to pool into tight droplets and roll off.
Selecting the Right Spray Formula
Suede is created from the soft underside of animal hide or split leather. Its open weave makes it far more absorbent than grain leather, so formula selection determines whether the original texture survives the treatment.
- Silicone Sprays: These seal surfaces under a thick layer of synthetic rubber. While useful for heavy rubber-soled work boots or thick smooth leather, silicone fills the space between suede fibers. This darkens tan, beige, or pastel suede by several shades and leaves behind a sticky residue.
- Fluoropolymer and Nano-Polymer Sprays: These formulas bond directly to individual fibers without bridging the gaps between them. Water drops form tight beads and roll off the surface instead of soaking in. The leather retains its flexibility, breathability, and original color once the solvent evaporates completely.
Light-colored split calfskin and delicate goat suede require non-silicone nano-protectants. Heavier split pigskin or rugged oiled suede can tolerate standard suede protectants, but wax and heavy silicone should be avoided across all suede finishes.
Preparing the Leather Surface
Spraying a protective liquid over dirty suede traps dust particles and oil beneath the water-repellent layer, locking in discoloration. Thorough surface preparation ensures the formula binds cleanly to the hide fibers.
- Verify Complete Dryness: Never coat damp leather. If the boots were exposed to rain or snow, allow them to air dry at room temperature for at least 24 hours. Applying solvent-based sprays to moist suede traps water inside the hide, which can weaken the leather structure over time.
- Lift and Clean the Nap: Brush the boots with a dry horsehair or dedicated suede brush using gentle, one-directional strokes. This lifts trapped dust and aligns the fibers so the protective mist reaches the base of each fiber rather than just the tips.
- Treat Pre-Existing Scuffs and Stains: Use a suede eraser to lift dry scuffs and salt lines before spraying. For minor oil or grease spots, dust the area with cornstarch or talcum powder, leave it overnight to draw out the lipids, and brush it away clean the following morning.
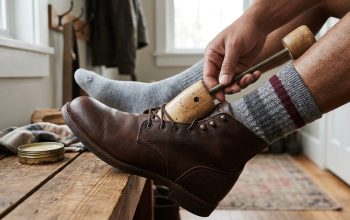
- Support the Internal Shape: Stuff the inside of each boot with clean paper, dry cotton rags, or cedar shoe trees. Holding the upper taut prevents deep creases around the ankle and tongue from folding over during spraying, ensuring even coverage across all exposed surfaces.
Applying the Spray Without Spotting
Achieving an even barrier comes down to light, controlled applications rather than soaking the leather in a single pass. Saturating suede causes the liquid solvent to pool, creating uneven dark blotches along lower seams.
Perform a Spot Test
Spray a brief pulse on an inconspicuous area, such as the inside edge of the tongue or the lower heel counter. Allow it to dry completely for 30 minutes to verify that the solvent does not alter the dye or leave a white residue.
Maintain Proper Distance
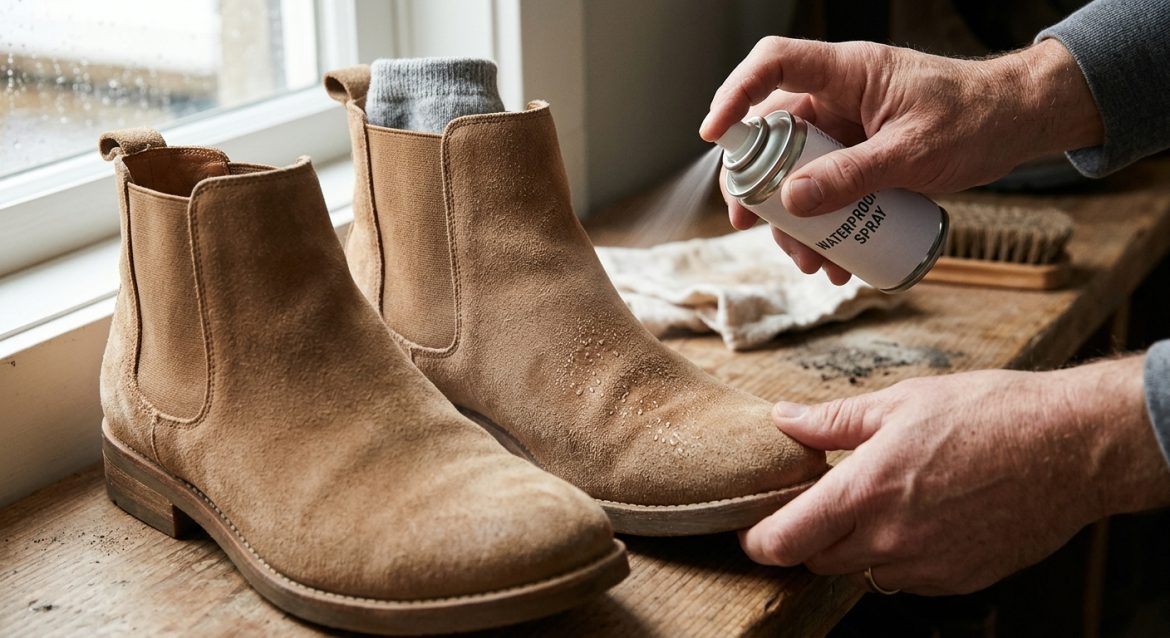
Hold the aerosol or pump spray bottle 6 to 8 inches (15 to 20 cm) away from the boot. Holding the bottle closer causes liquid pooling; holding it farther away allows fine droplets to evaporate in the air before adhering to the hide.
Apply Light, Overlapping Passes
Spray using steady, sweeping motions across the entire upper. Focus on high-exposure zones, including the toe box, heel counter, and welt stitching along the sole line. The suede should look uniformly damp, not glistening wet.
Layering and Drying
Let the first layer dry for 15 to 20 minutes in a well-ventilated space, then apply a second light coat. Allow the boots to cure fully in a cool area away from direct sunlight and artificial heat for 12 to 24 hours before outdoor wear.
Restoring Texture and Nap After Drying
Even light waterproofing sprays can leave suede feeling slightly firm or flat once the solvent evaporates. Restoring the original velvet texture requires light mechanical lifting.
- For Fine Goat or Calf Suede: Use a crepe rubber brush. The soft, sticky rubber loops grip delicate fibers without scoring or scratching sensitive, light-colored hides. Move the brush in short, back-and-forth strokes across the surface.
- For Standard Split Cowhide or Pigskin: Use a firm nylon or stiff horsehair suede brush. Brush against the grain of the nap to pull up flattened fibers, then stroke lightly with the grain to smooth the texture back down.
- For Persistent Stiff Patches: Rub stiffened areas gently with a clean microfiber cloth using circular motions. The mild friction breaks up dried protectant film and softens the hide without causing abrasion marks.
Care Practices That Permanently Damage Suede
Avoiding damaging techniques is just as critical as selecting the right protectant. Four common practices frequently cause irreversible harm to suede uppers:
- Applying Shoe Wax or Beeswax: Waxes require friction and smooth surfaces to melt and buff. On suede, wax mats the open fibers into a greasy, hard crust that cannot be restored by brushing.
- Using Mink Oil or Conditioning Creams: Heavy oil conditioners saturate the porous split fibers, turning light tan, beige, or gray suede into a dark, splotchy brown permanently.
- Speed-Drying with Direct Heat: Placing wet or sprayed boots near radiators, space heaters, or blow-dryers strips natural moisture out of the leather hide, causing internal fibers to shrink, stiffen, and crack.
- Over-Saturating the Upper: Soaking suede in waterproofing spray causes liquid to run down and collect above the welt, leaving dark salt-like rings called tide marks as it dries.
Weather-Readiness Checklist
Before taking freshly treated boots out into wet conditions, run through these basic functional checks:
- Water Droplet Test: Place a single drop of water on an inconspicuous area near the heel. If the droplet beads tightly and rolls off within 10 seconds, the barrier is functioning. If it flattens and darkens the leather, reapply a light layer.
- Nap Flexibility Check: Pass your fingers across the toe box. The fibers should shift direction smoothly without feeling rigid or board-like.
- Seam and Stitch Inspection: Examine the welt line along the sole connection. Ensure spray was applied directly to the seam threads, where needle punctures create pathways for standing water.
- Curing Verification: Confirm that the leather is completely dry to the touch and uniform in shade; damp suede remains noticeably darker than fully dried hide.
Reapply waterproofing protectants every 6 to 8 weeks during active wet seasons, or immediately after deep cleaning suede boots with water-based cleaners.