Stopping a shoe from squeaking begins with pinpointing whether the noise comes from inside the footbed, along the tongue and laces, or at the rubber outsole contacting the floor. Friction and trapped moisture cause almost all squeaks. Applying a fix to the wrong part of the shoe will not solve the sound and can ruin delicate materials or compromise your traction on hard surfaces.
Test Surfaces to Find the Squeak's Exact Origin
Before applying powders or conditioners, test your shoes on two distinct walking surfaces: a soft carpeted floor and a smooth, hard surface like tile, hardwood, or polished concrete.
- Squeaks on carpet: The noise stems from inside the shoe structure or the upper construction. Carpet muffles and eliminates floor contact sound, isolating internal rubbing.
- Squeaks only on smooth floors: The outsole is catching air, trapping vacuum pockets, or grabbing the floor's wax finish.
If the sound occurs on carpet, isolate the exact panel by stepping in place:
- Lift your heel while leaving your toes flat to flex the forefoot. A creak during this movement usually means friction between the leather tongue and the lace facings.
- Shift your weight from side to side without lifting your feet. A squeak here points to the insole rubbing against the internal side walls.
- Remove the insole entirely if your shoe allows it. Walk on carpet without the footbed insert. If the noise disappears, the problem is entirely between the bottom of the insole and the shoe floor.
Fixing Insole Noise Caused by Moisture and Dry Friction
Internal squeaks occur when sweat or ambient moisture gets trapped under the footbed, or when dry synthetic linings rub against each other under the weight of your stride.
Removable Insoles
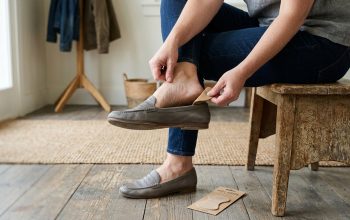
- Pull the insole out completely.
- Wipe the underside of the insole and the internal shoe cavity with a damp cloth to clean out dried salt, grit, or adhesive residue. Allow both parts to air dry fully.
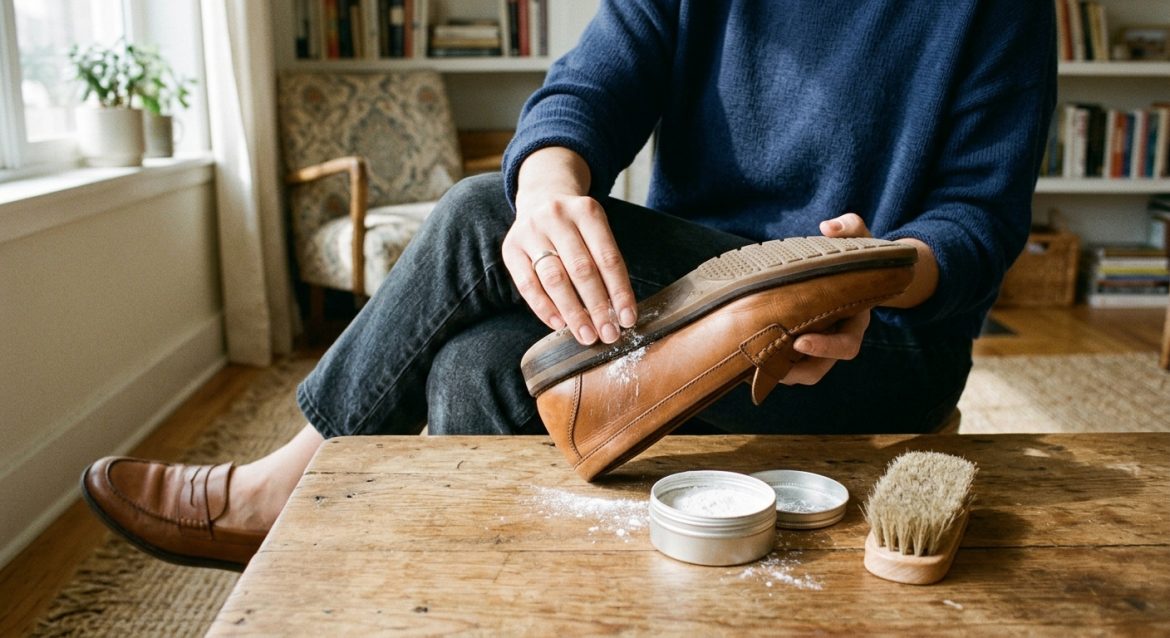
- Sprinkle a thin, uniform layer of cornstarch, baby powder, or talcum powder directly into the base of the shoe, focusing on the heel and arch areas.
- Reinsert the insole. The powder creates a dry barrier that prevents synthetic and foam layers from binding under load.
If you prefer to avoid loose powder, cut a dryer sheet to fit the heel and midfoot area and lay it flat underneath the insole before reinserting it.
Drawbacks and limits: Powders degrade over time as they absorb foot perspiration. You will need to clean out the old paste and reapply fresh powder every few weeks. Additionally, powder can temporarily mark dark socks if overapplied.
Non-Removable Insoles
Glued-down insoles require careful handling to avoid tearing the sockliner away from the midsole.
- Dust powder around the inner perimeter edges of the footbed.
- Flex the shoe repeatedly by hand to help the fine particles migrate underneath the unglued edges of the lining.
- If powder fails to stop the rubbing, dip a cotton swab into a tiny drop of leather conditioner or shoe cream and trace the outer seam where the insert meets the interior side wall.
Use conditioners sparingly on interior linings; excess oil can saturate the footbed foam, causing it to lose structural density or emit unpleasant odours over time.
Treating Leather Tongue and Upper Friction
Leather-on-leather friction is common in structured boots, dress shoes, and leather sneakers. As your foot flexes, the tongue rubs against the underside of the eyelet facings or the ankle collar, producing a dry creaking sound.
- Unlace the shoe entirely: Expose the full surface of the tongue and the interior lining around the eyelet holes.
- Clean the surface: Wipe away surface dust and dried sweat with a damp microfiber cloth.
- Condition the leather: Apply a thin layer of leather lotion, saddle soap, or shoe cream to the top face of the tongue and the interior underside of the lacing panels. Conditioned leather softens, letting adjacent panels glide silently against each other.
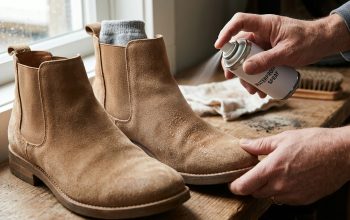
- Treat suede and nubuck with wax: Applying liquid oils or conditioners to suede or nubuck will permanently flatten the nap and discolor the finish. Instead, rub a clear paraffin wax bar or plain beeswax candle along the contacting edges of a suede tongue. The wax forms a dry, invisible slick barrier without staining the fabric.
Material warning: Always spot-test leather conditioners on an inconspicuous area, such as the inside edge of the tongue, before full application. Rich conditioning oils can slightly darken light-colored leathers.
Stopping Rubber Outsoles from Squeaking on Tile and Hardwood
New rubber soles and soft compound sneakers often squeak on smooth floors because smooth rubber forms temporary vacuum pockets or grabs floor wax too aggressively.
- Wipe with isopropyl alcohol: Dirt, sticky residue, and residual floor wax build up on rubber treads and cause high-pitch sticking noises. Clean the bottom of the outsole thoroughly with a rag dampened with isopropyl rubbing alcohol to strip away film without breaking down the rubber.
- Coat with a dryer sheet: Firmly rub the bottom of a clean rubber sole with a laundry dryer sheet. The anti-static agents transfer a subtle coating that reduces surface stickiness without making the bottom dangerously slick.
- Scuff smooth soles: Brand-new shoes often have slick, smooth outsoles straight out of the box. Walk across rough outdoor asphalt for a few minutes, or rub the bottom of the rubber lightly with fine-grit sandpaper (220-grit) for five seconds. Microscopic surface texture prevents vacuum pockets from forming when you walk on polished floors.
Safety warning: Never apply petroleum jelly, vegetable oil, or spray lubricants like WD-40 to the bottom of a shoe. While lubricants eliminate squeaks, they permanently ruin traction, create extreme slip hazards on smooth floors, and can weaken synthetic rubber compounds over time.
When the Noise Is a Broken Shank or Midsole Failure
If your shoe produces a sharp metallic clicking sound or a deep structural crunch from the center of the arch with every step, the issue may be internal hardware failure rather than surface friction.
Inside the midsole of structured shoes and boots sits a rigid support plate called a shank, made from steel, fiberglass, or plastic. If the adhesive securing the shank dries out and releases, or if a metal shank snaps under stress, the component shifts and grinds against the surrounding midsole material during weight transfer.
- DIY limits: Internal shank squeaks cannot be fixed with external powders, waxes, or surface cleaners because the component is permanently sealed inside the sole welt.
- Repair decisions: A professional cobbler can repair a loose shank by peeling back the outsole or footbed seam, applying fresh industrial adhesive or replacing the metal plate, and re-stitching the sole.
If the footwear is an inexpensive everyday sneaker with a molded unit sole, cobbler repairs usually cost more than the shoe itself. In that scenario, replacing the footwear is the practical choice.
Squeak Diagnostic Checklist
Use this quick matrix to match your shoe's specific symptom to the safest solution and understand its trade-offs:
| Symptom & Location | Primary Cause | Recommended Fix | Drawbacks & Limits |
|---|---|---|---|
| High-pitched squeak only on smooth tile or hardwood | Outsole catching floor wax or forming air vacuum pockets | Clean sole with isopropyl alcohol; rub sole with a dryer sheet or scuff lightly on concrete | Sandpaper scuffing permanently alters sole smoothness; never use oils on outer soles |
| Dry creaking on every surface when foot flexes | Friction between leather tongue and upper/lacing panels | Apply leather conditioner to tongue; use paraffin wax bar on suede or nubuck | Conditioning oils can slightly darken light-coloured leather shades |
| Soft chirping or squishing sound under the heel | Trapped moisture or dry friction under the removable insole | Remove insole, dry cavity, and dust cornstarch or lay a dryer sheet beneath footbed | Powder breaks down with perspiration and requires periodic cleaning and reapplication |
| Deep metallic click or hard pop in the arch area | Loose or broken internal steel/plastic shank inside midsole | Requires professional cobbler repair to reopen welt, or shoe replacement | Cannot be solved with DIY topical treatments; repair costs may exceed shoe value |
Simple Care Habits to Prevent Squeaks
To keep squeaks from returning, focus on routine shoe maintenance and proper storage:
- Air-dry footwear completely: Never store or wear damp shoes. Internal moisture weakens insole adhesives and creates high-friction zones between synthetic interior layers. Allow shoes to dry naturally at room temperature away from direct heat sources.
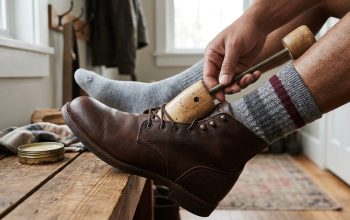
- Use cedar shoe trees: Insert raw cedar shoe trees into leather footwear immediately after wearing them. Cedar actively draws out moisture from footbed seams while maintaining the upper's shape, preventing internal lining warps that lead to creaking.
- Condition uppers periodically: Apply a light layer of leather cream to full-grain leather shoes every three to six months. Keeping the leather supple prevents tongue and eyelet panels from hardening and creaking against each other as you walk.